Surname Study and AI Part 4: Making A ChatGPT Project
In this series of posts about a surname study, Part 1 described the study, Part 2 included how census data was collected and formatted for use and Part 3 described how to combine and analyze the census data. This blog post will show how to create a project in ChatGPT. Even though the example shows creating a project as part of a surname study, the steps can be used for any task you are doing.
In the work done during the previous part of my project, I asked ChatGPT:
Would it be good to have this chat in a project?
ChatGPT suggested that a Project is good for a long, multi-stage surname study. It explained the benefits of having the related chats and files grouped together for organization. It also recommended creating separate threads as I continued my effort, with tips for naming the chats. ChatGPT went on to suggest which threads and files to include.
NOTE: Although I kept detailed notes about the steps of this study, I had not written the full blog posts as I performed the steps. As a results, some details of the interface had changed, so please keep in mind, ChatGPT is always evolving!
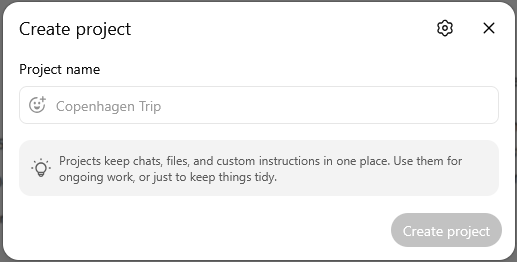
In the menu section Projects I clicked on the + sign next to New Project.

Then a dialog box opened so that I could enter the Project name.
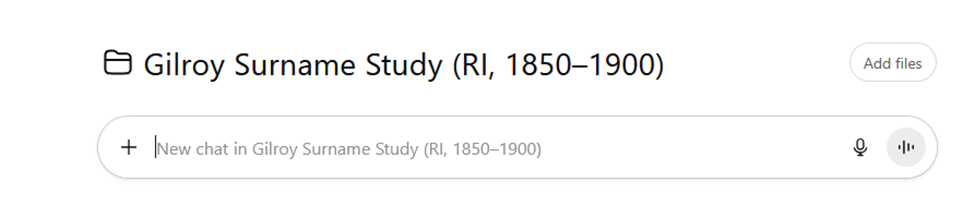
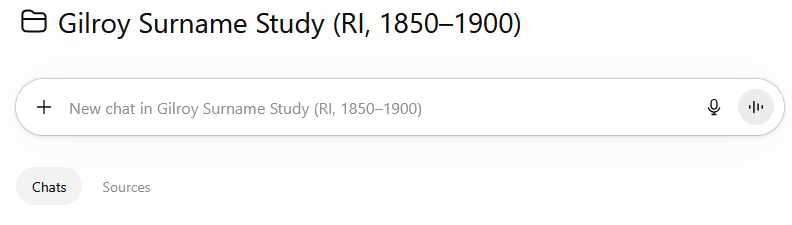
And the Gilroy Surname Study (RI, 1850-1900) project was created in ChatGPT. It appears in the menu, above the other chats.
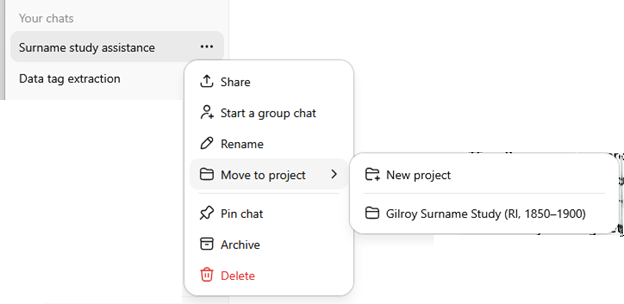
Since I already had chats to add to the project, I clicked on the three dots (ellipses, sideways snowman) next to the name of the existing chat I wanted to add (Surname study assistance). Choosing Move to project gave me the option to create a New project and the name of the already existing one.
Next, I wanted to add the data files to the project. I clicked on the Project in the menu, and where Chats was already selected.
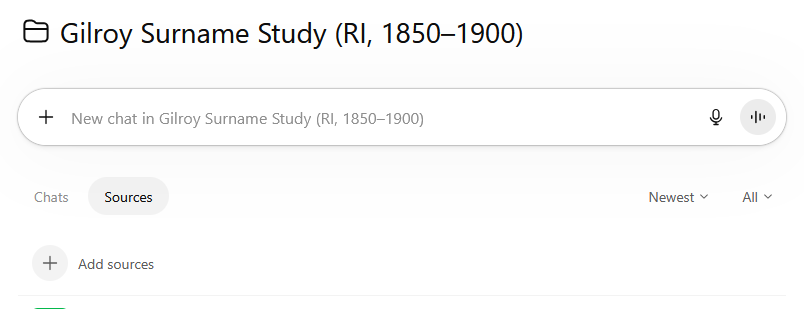
I selected Sources, then + Add sources
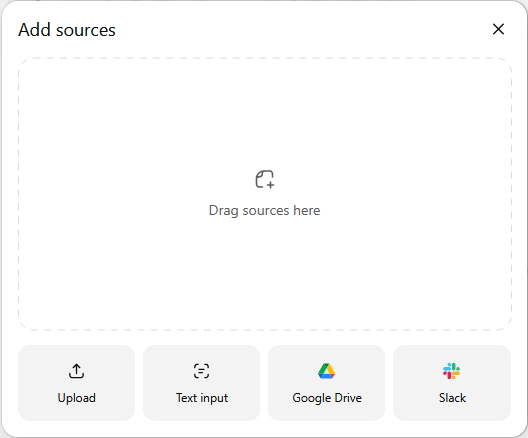
The dialog box opened to allow me to add sources. In this case, the sources were my files, and I dragged and dropped them.
ChatGPT had offered suggestions about what products to add to the Project, such as checklists it had generated.
NOTE: At this point (ChatGPT 5.2), the names of sources in the project cannot be edited. The types of files that can be added to a project have been expanded, and are: .docx, .pdf, .txt, .md, .xlsx, .csv, .jpg, .jpeg, .png, .tiff, .json, .xml, .pptx, .mp3, .wav, .mp4, .html, .mhtml
At the end of this step:
The chats and source files had been grouped together into a project.
Next step: I decided to look at the data from city directories.