Have you checked out TimeMapper?
Recently, one of the people I follow on Twitter mentioned using TimeMapper to create timelines with maps. If you have attended one of my lectures, or read my books, you will know how important it is to build timelines. Maps are also vital to understanding our ancestors. So imagine how exciting it would be to combine timelines and maps together. TimeMapper is a is free, open-source tool that is a product of the Open Knowledge Foundation Labs. TimeMapper. can be found here.
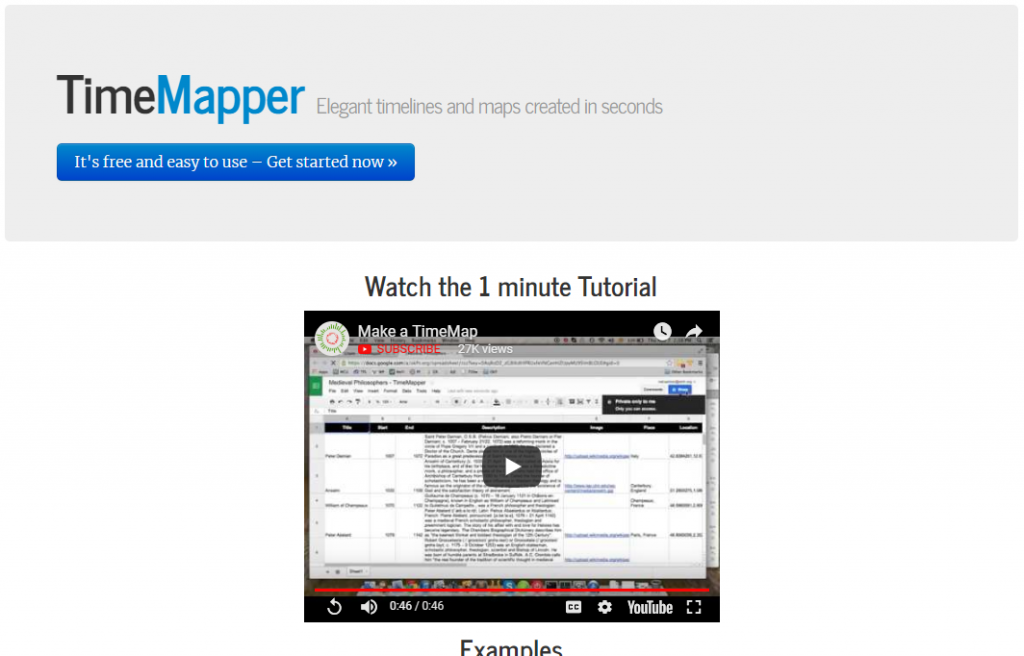
On the main TimeMapper page there is a 1 minute tutorial to show you how it work. I recommend taking the minute to watch it.
There are three steps: Create a Spreadsheet; Connect and Customize; and Publish, Embed and Share.

You can create an account by signing in with your Twitter account. Ny using your Twitter account, you could use TimeMapper as a Twitter app. As an app, it can read the tweets from your timeline and see who you follow. I chose to use it anonymously, using a spreadsheet published on my google drive.
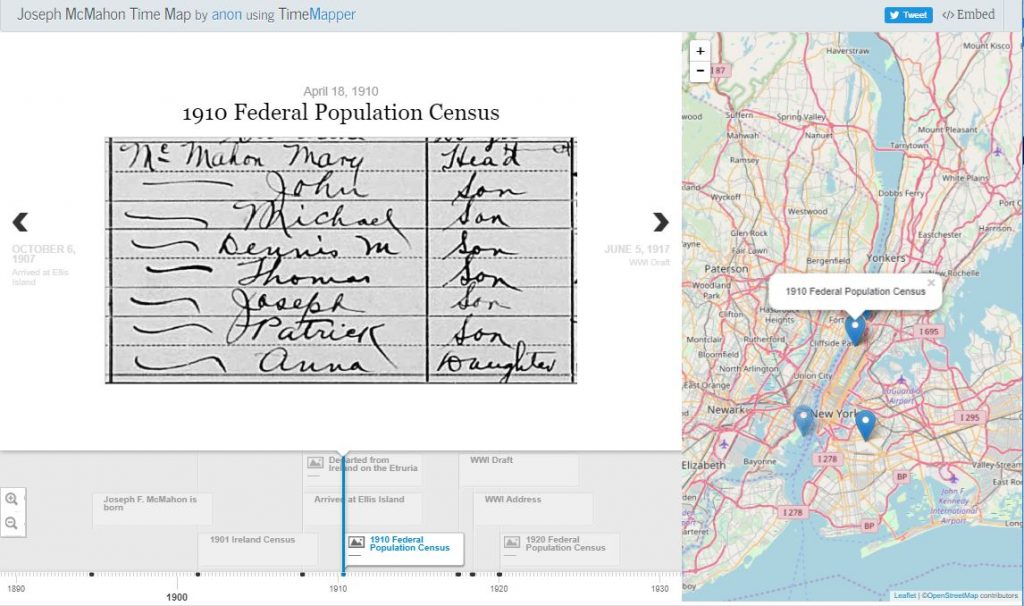
You don’t have to sign in, or upload your own spreadsheet to see how this works. You can use an example spreadsheet on the webpage to view a TimeMap for “Medieval Philosopher’s Timeline”. Using their sample is a great way to get started. On the left you can scroll through the events in the spreadsheet, with the timeline under them. On the right is a map with the events.
It is easy to use the spreadsheet template, by copying it to your google drive. The spreadsheet with the TimeMapper Template can be found here.
When you create your own TimeMap, the locations for events have to be given in latitude/longitude (or JSON) format. The google spreadsheet contains a google docs formula to look up latitude and longitude, so that the location names can automatically be translated. Add the web addresses (urls) of any images you want to appear with an event in the spreadsheet. You have to delete the top row in the spreadsheet with the instructions. The last step is to publish the spreadsheet to the web.
I copied the timeline to my google drive, then entered data into the fields to create a timeline for my Grandfather. I followed the instructions in Step 2 to Connect and Customize. Step 3 was to publish.
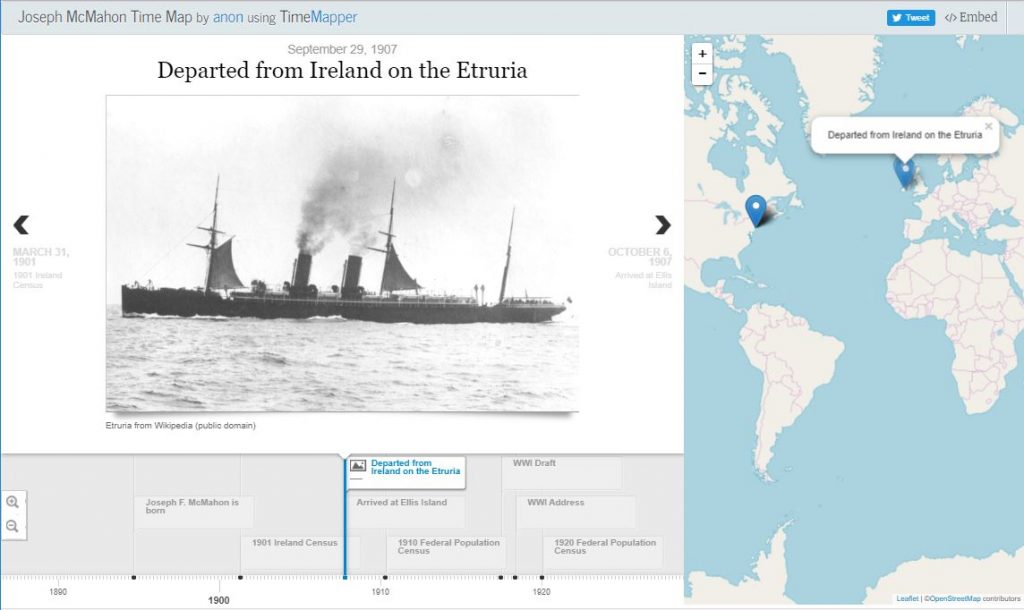
Use the arrows to cycle through the events, and a corresponding caption location on the map will be displayed. There is a timeline under the events.
The map can be expanded portion can be expanded to get a view of locations that are close together.
The TimeMap cannot be downloaded to your computer., but the link to it can be shared. There are options to share your TimeMap to Twitter, or you can copy and paste a link to your TimeMap.
Many thanks to @MNdoughboy1918 for sharing this tool on Twitter.